SÅ HÄR RITAR DU I VÅRT RITPROGRAM
On the right side of the planner will find four tabs, WALLS,
KITCHEN, COLOR and SEND.
Go from left to right, start with WALLS end with SEND.
You can click between these four headings if you need to change something along the way.
Feel free to watch our instructional videos below to understand the kitchen planner a little
better.
WALLS TAB
1. Under the heading WALLS:
Start by measuring the width and height of the wall in your kitchen. After you do this, put
the dimensions under the heading WALL. You have four walls available walls to sketch on by
clicking on wall 2, wall 3, etc. in the menu located on upper left of the page. If you don't
have a window or door on the wall, you can click through to the KITCHEN tab.
2. Under the heading WINDOW:
If you have a window on the wall, start by measuring it. Then fill in the dimensions of your
window in the width and height fields. Next, enter the values for where you want your window
placed on the wall. You do this by measuring from the left side of your wall to the lower
left corner of the window. Also measure from the floor to the bottom of the window. Insert
these measurements in the corresponding fields.
3.Under the heading DOOR:
If you have a door on the wall, start by measuring it. Next, enter the dimensions of your
door in the width and height fields. Following this, enter the location of your door on the
wall by measuring from the left side of your wall to the left side of the door. Enter
measurements in the corresponding fields.
4. In the sketch surface there are two dotted lines, the bottom line indicates the height of the base cabinets. The top line delineates the gap between the base cabinets and the wall cabinets (default 50 cm). You can adjust this height by dragging the arrows on the left side. Now it's time to click on the "KITCHEN" tab.
KITCHEN TAB
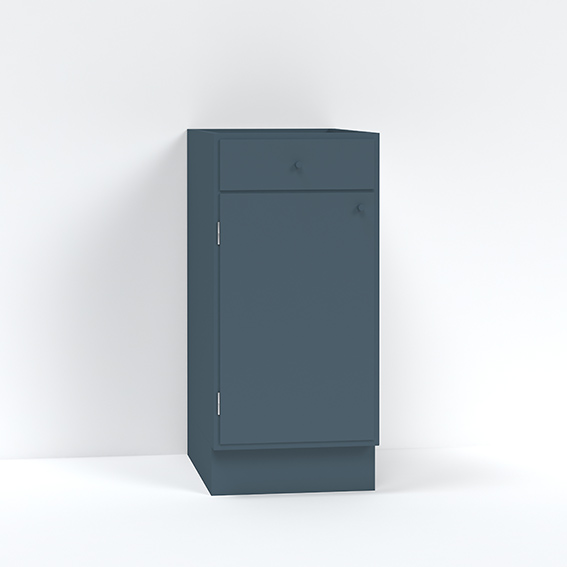
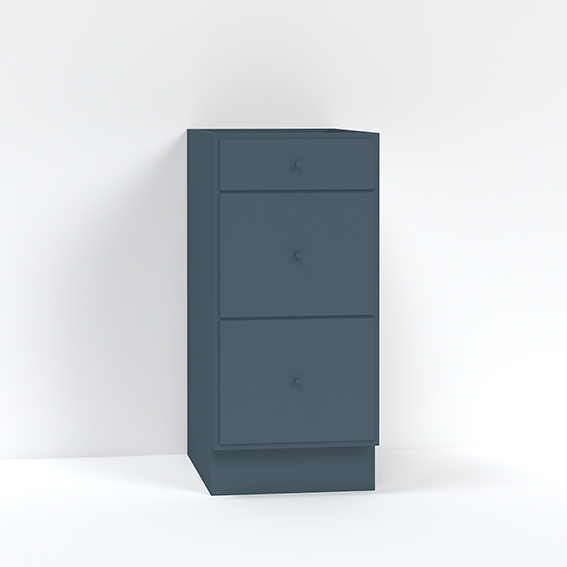
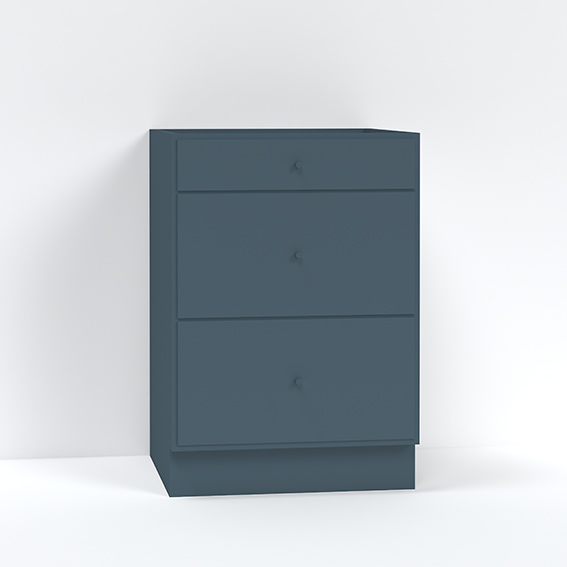
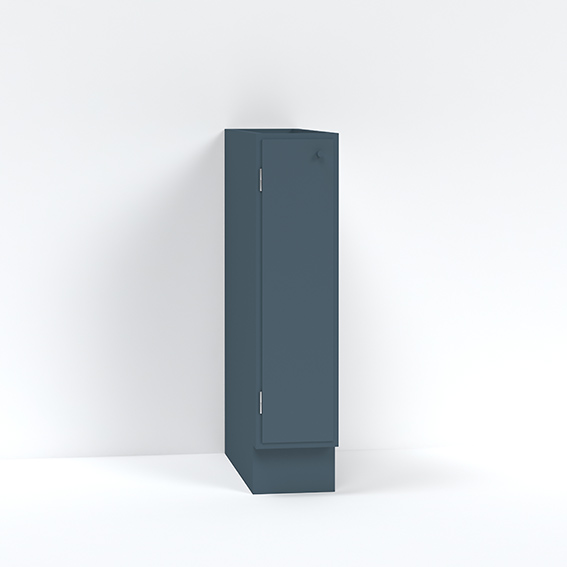
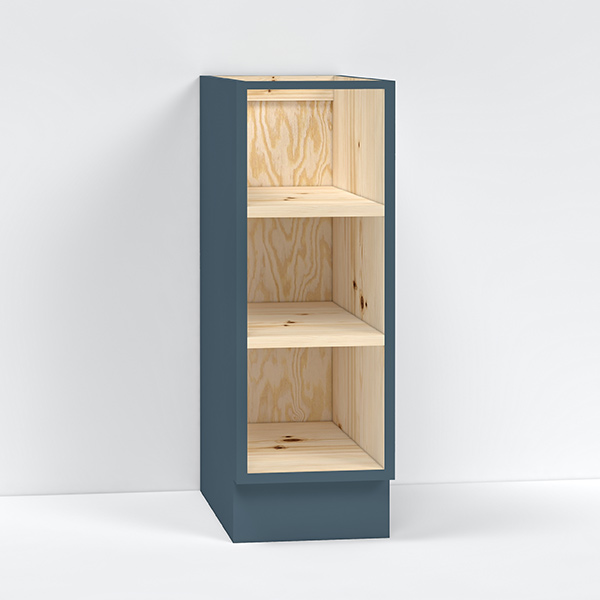
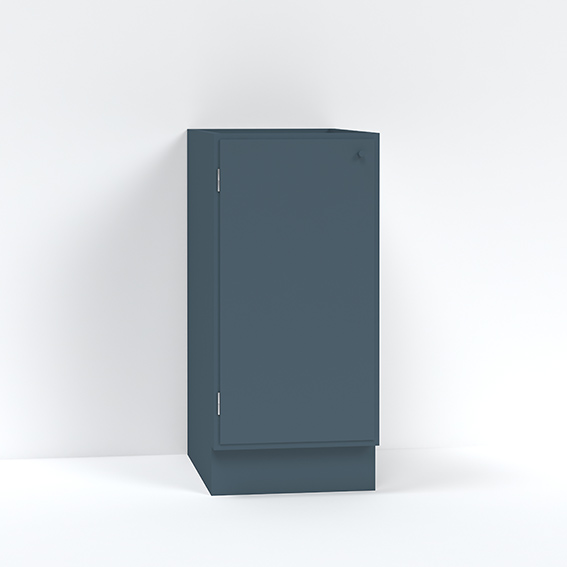
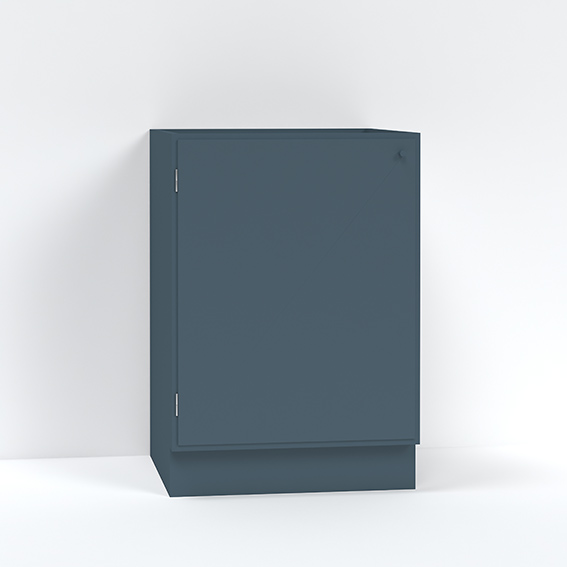
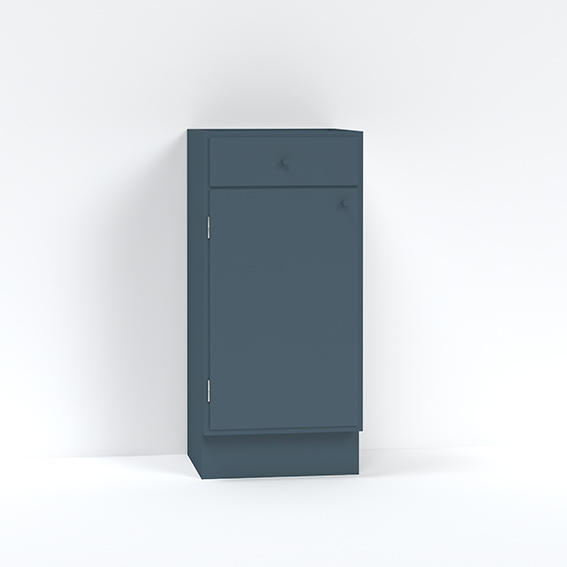
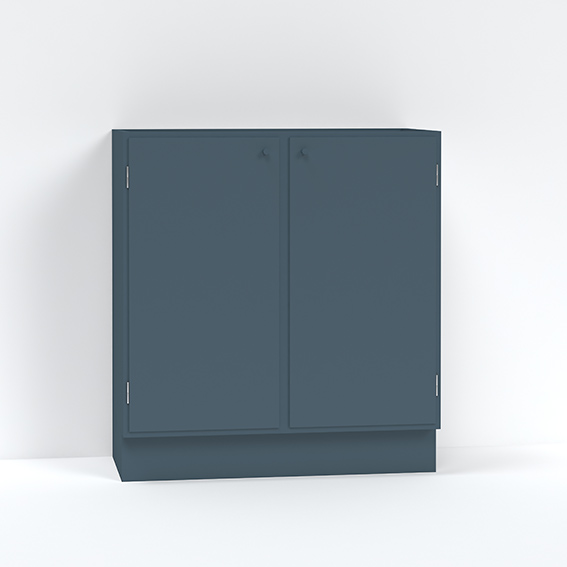
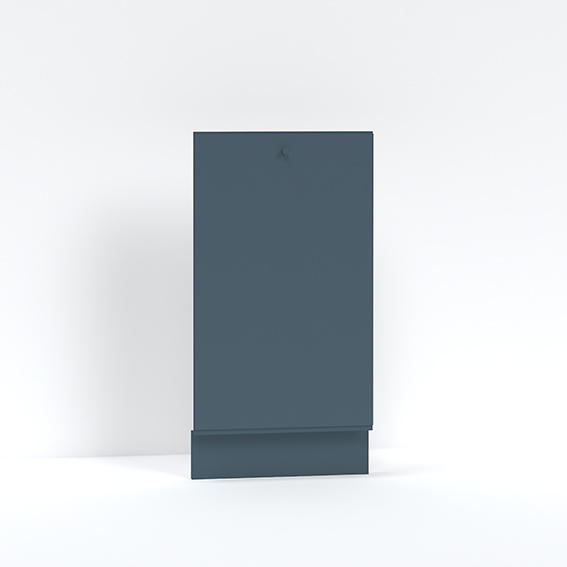
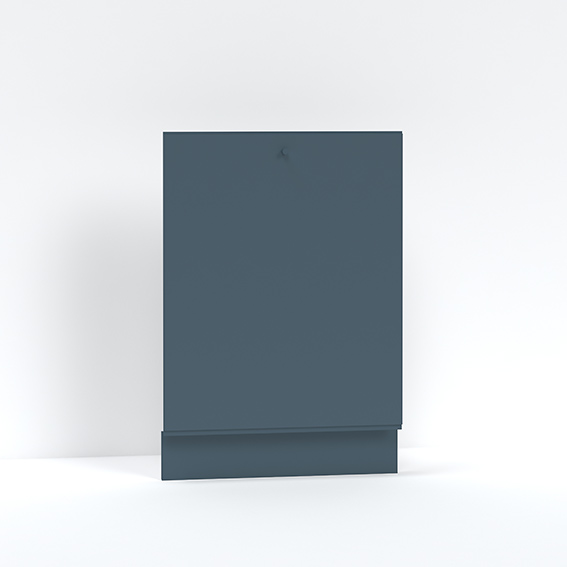
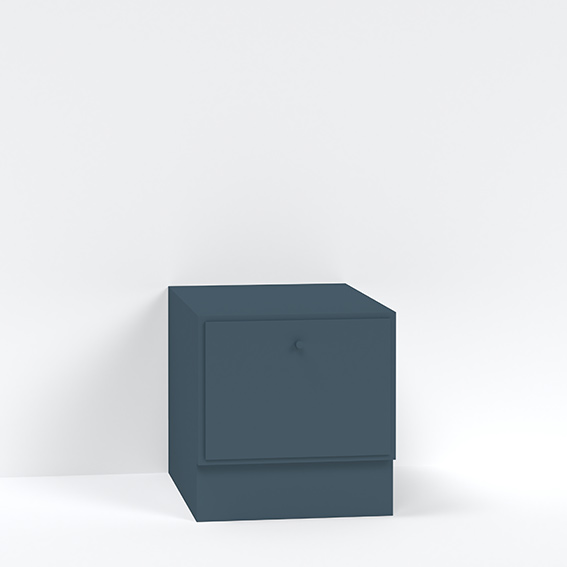
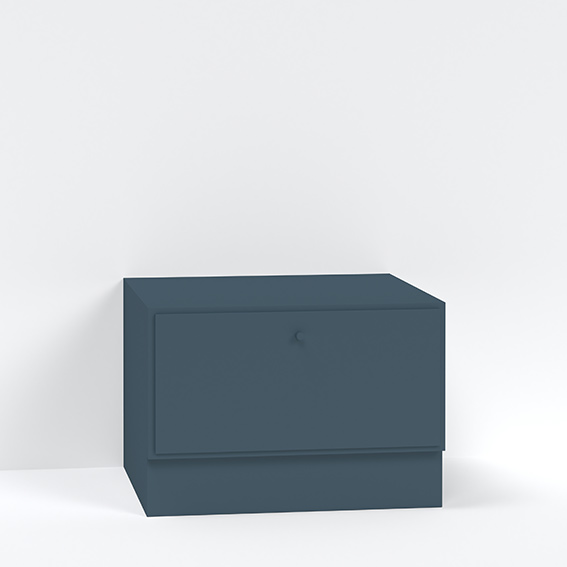
5. Base Cabinets:
At the top you'll find two draggable items, "Filler" and "Cover panel". You can use fillers
for example, if you want your kitchen flush against a wall. This would require a filler that
is at least 2-5 cm wide placed between the wall and wall adjacent cabinet. To make it easier
place the filler first. The filler items can be resized horisontally (width).
Orientation of the handles/knobs, left of right, on certain cabinets can be toggled using the corresponding icons, "L" and "R". Base cabinets can be dragged/repositioned horisontally.
To remove a cabinet from the sketch surface single-click a cabinet and click the "x" icon
that appears.
To remove all cabinets from a wall click on "CLEAR WALL"
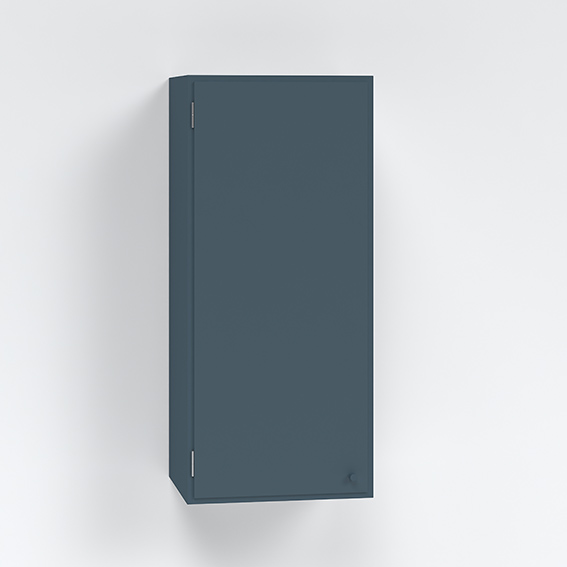
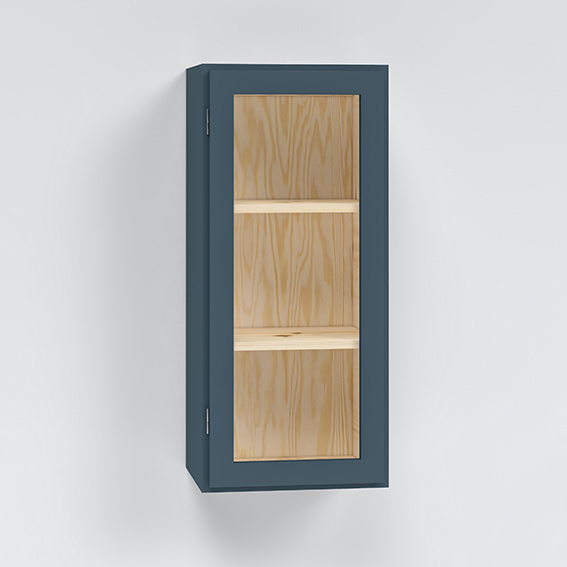
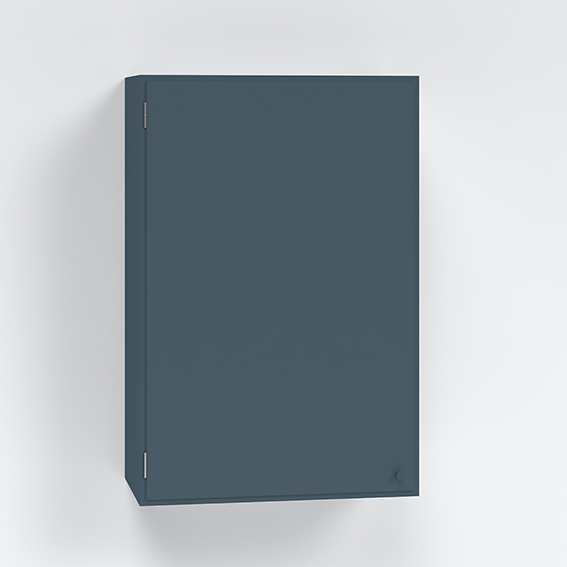
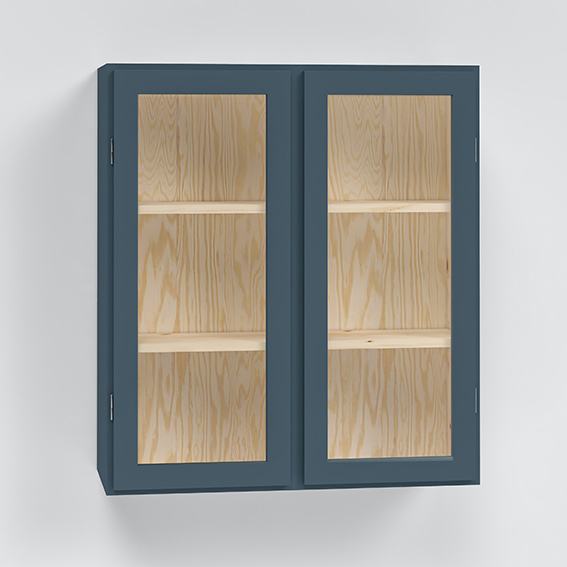
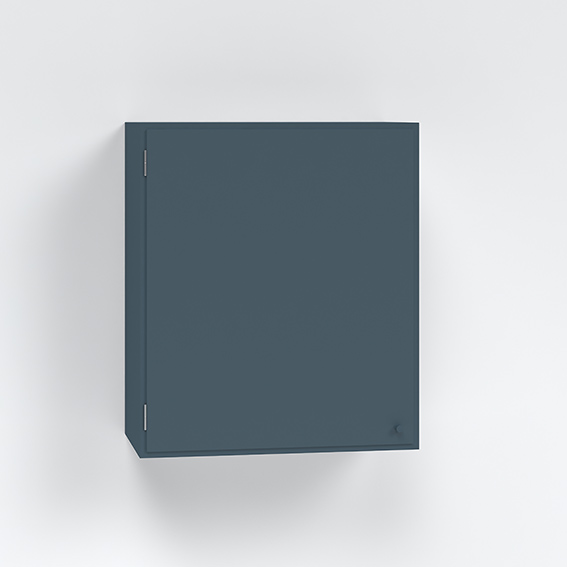
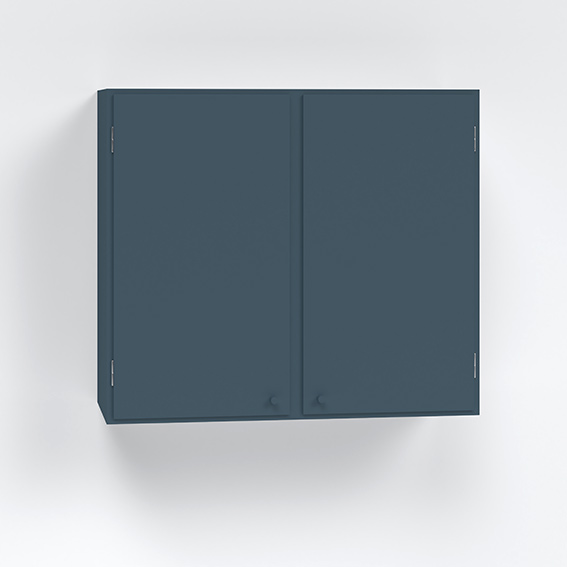
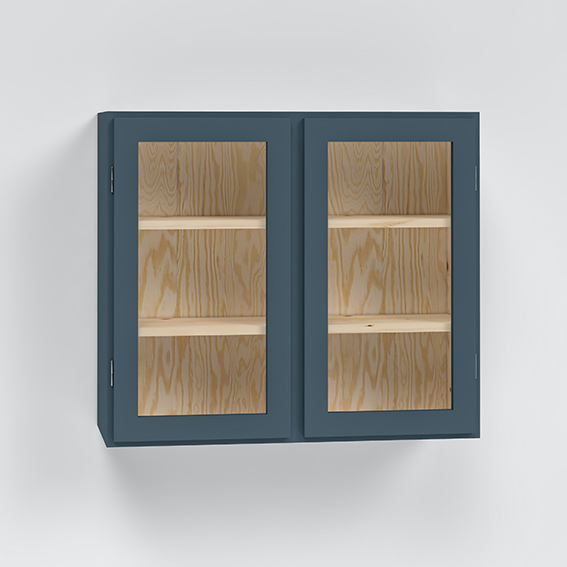
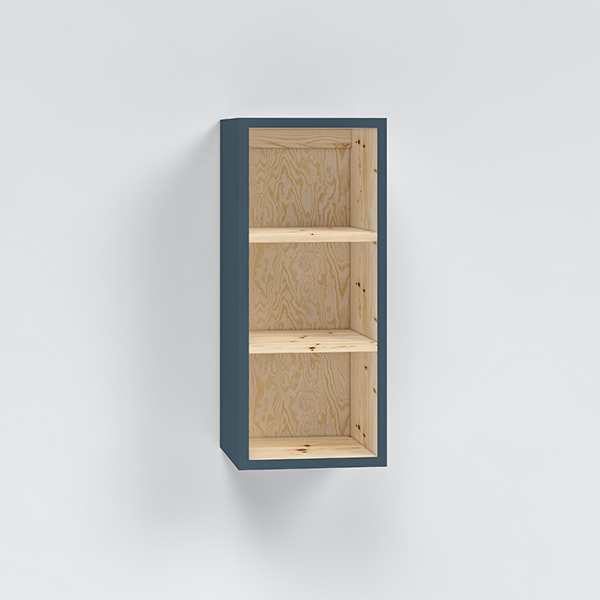
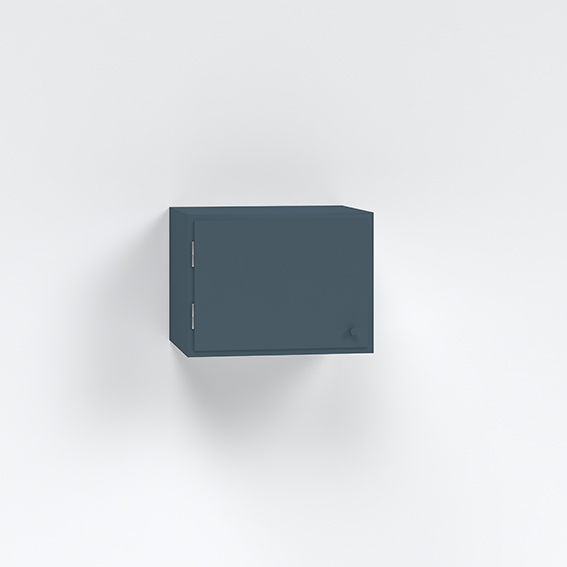
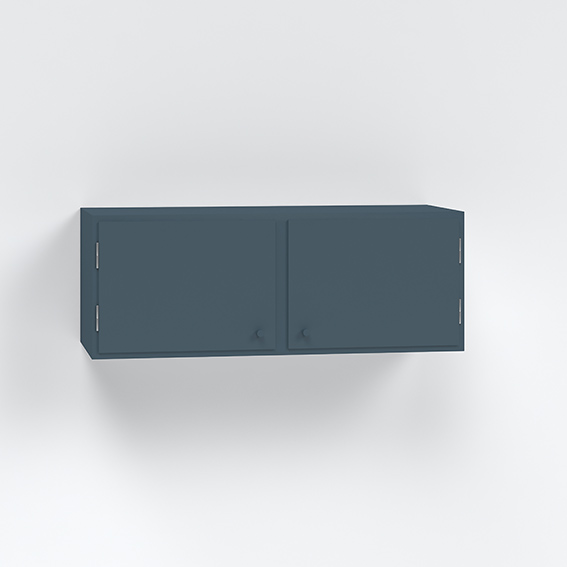
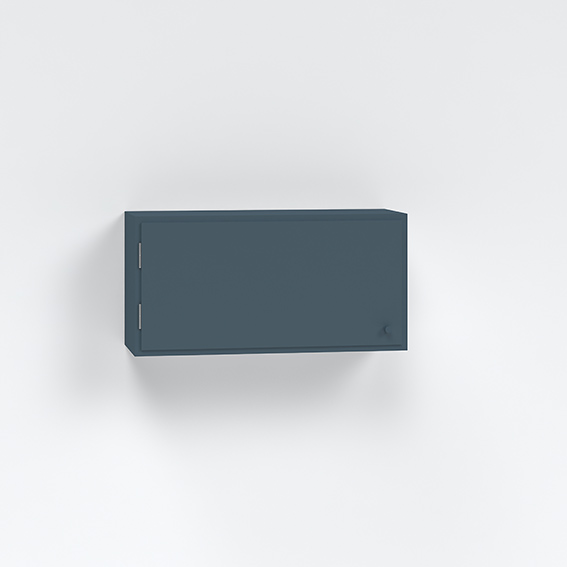
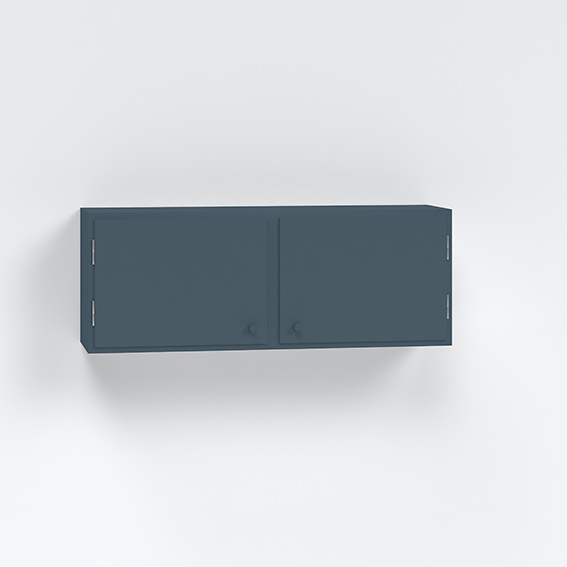
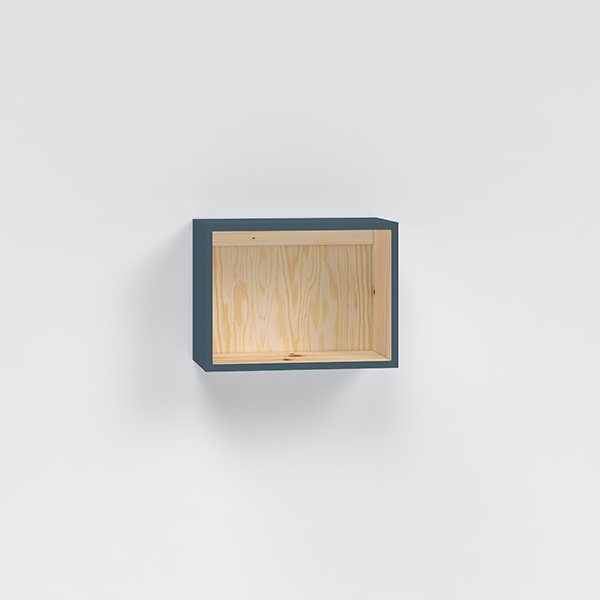
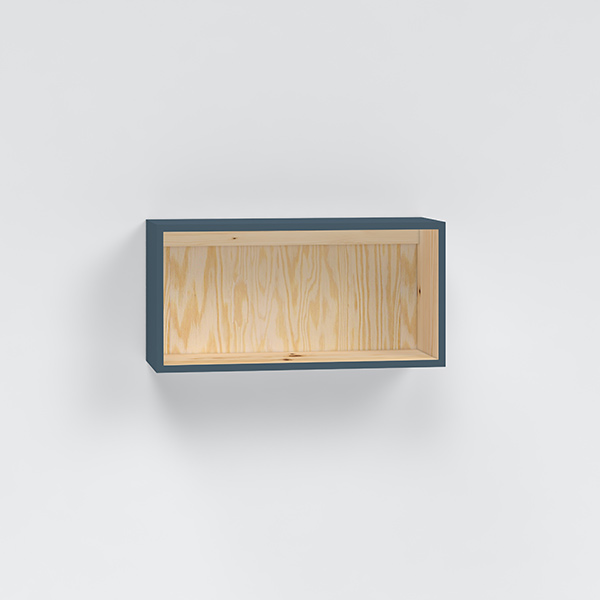
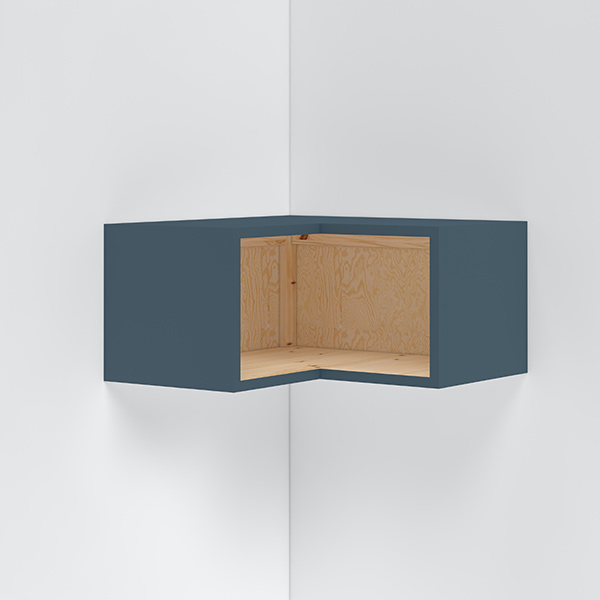
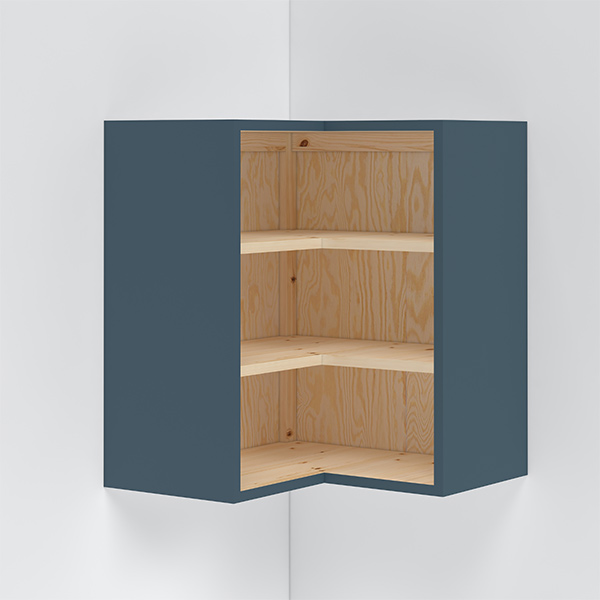
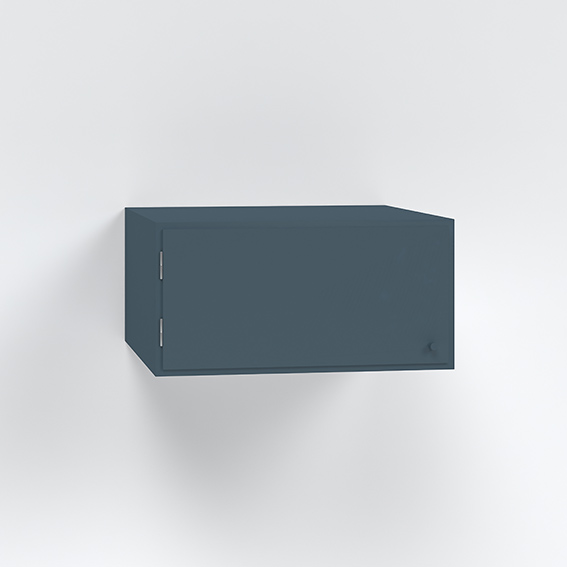
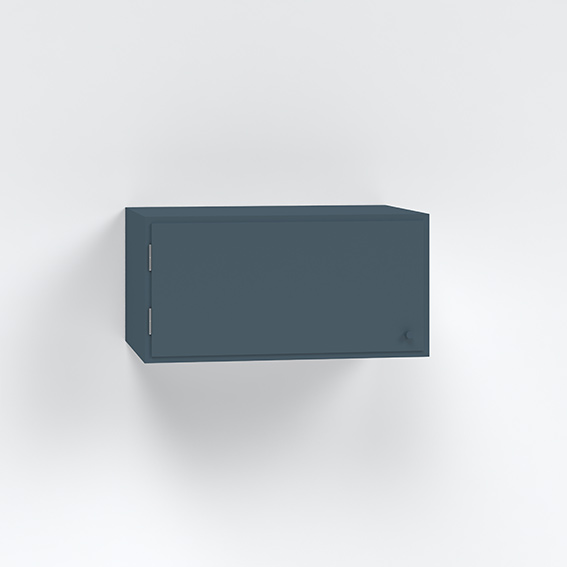
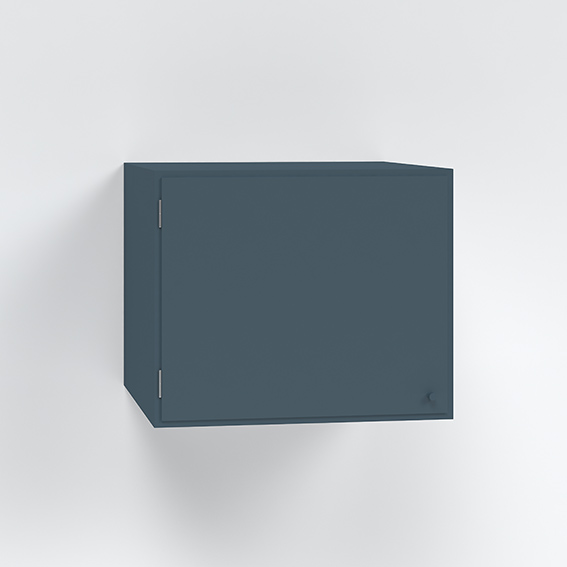
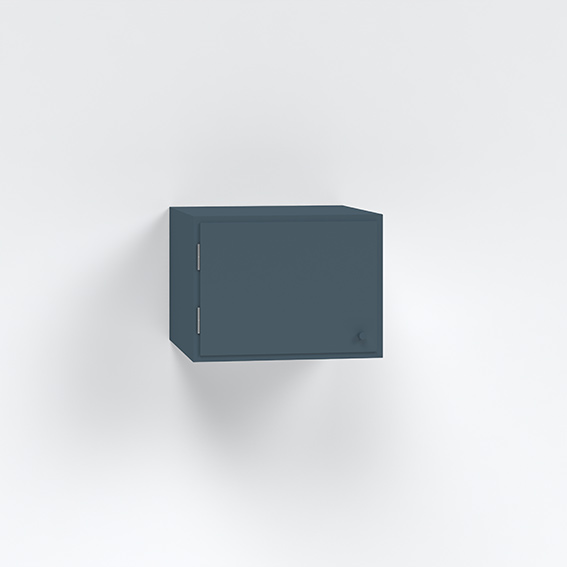
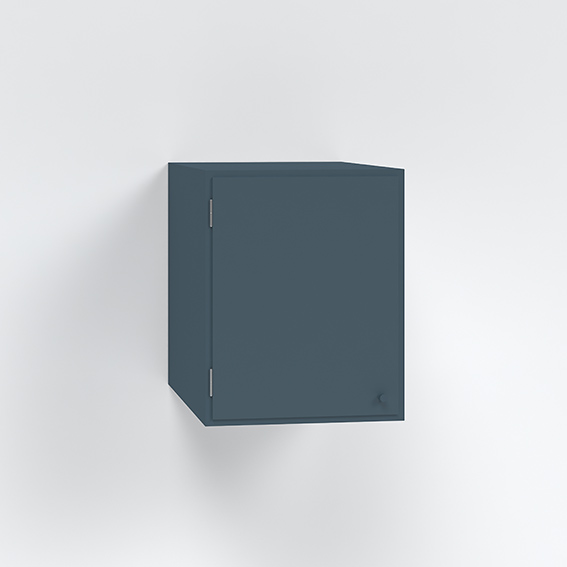
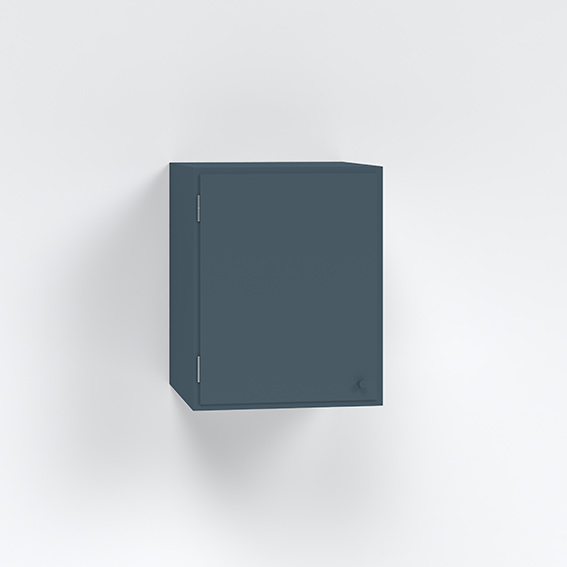
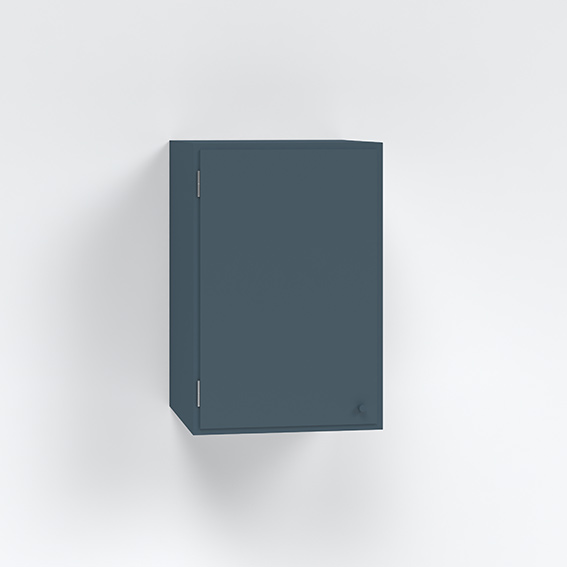
6. Wall Cabinets:
At the top of the wall cabinets section you'll find two draggable items, "Filler" and
"Trim". You can use fillers for example, if you want your kitchen flush against a wall. This
would require a filler that is at least 2-5 cm wide placed between the wall and wall
adjacent cabinet. To make it easier place the filler first. The filler items can be resized
horisontally (width).
"Trim" items can be used if you want your kitchen to be flush with the ceiling. It's easiest to place trim items last, after all cabinets have been placed, so you know how much of an area you need to cover. Trim items can be resized in all directions.
Orientation of the handles/knobs, left of right, can be toggled on certain cabinets using the corresponding icons, "L" and "R". Base cabinets can be dragged/repositioned horisontally.
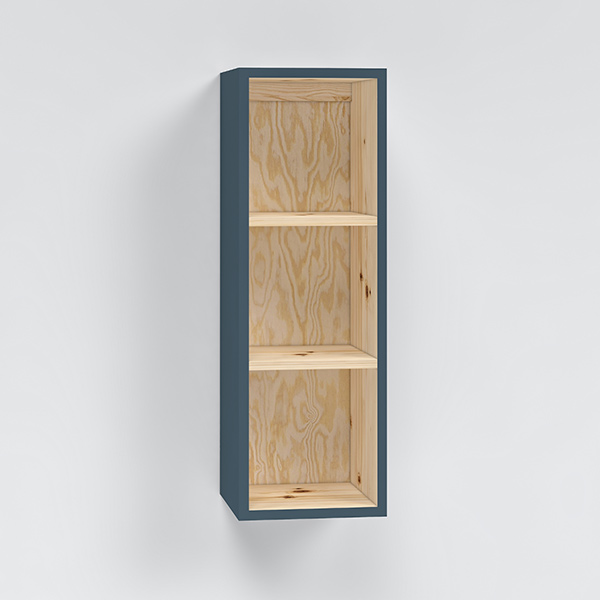
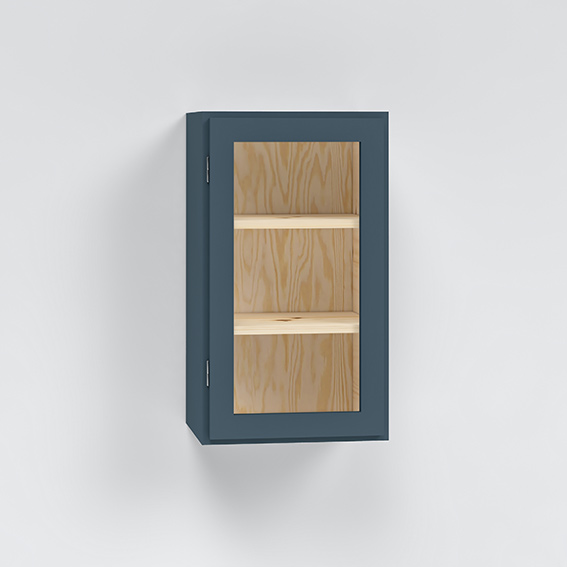
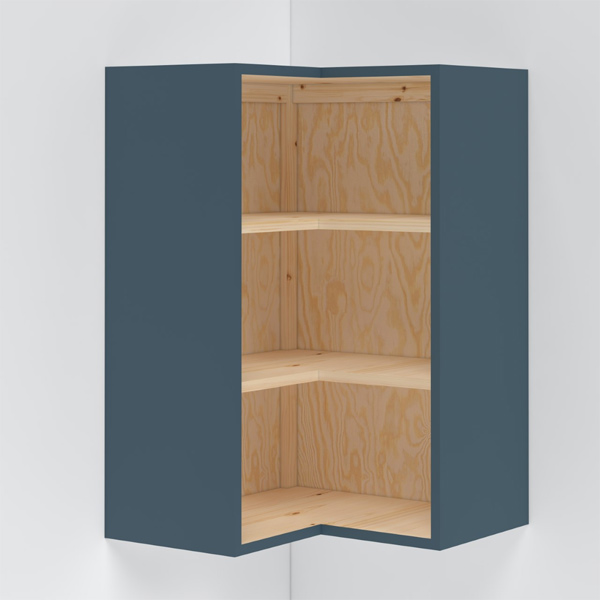
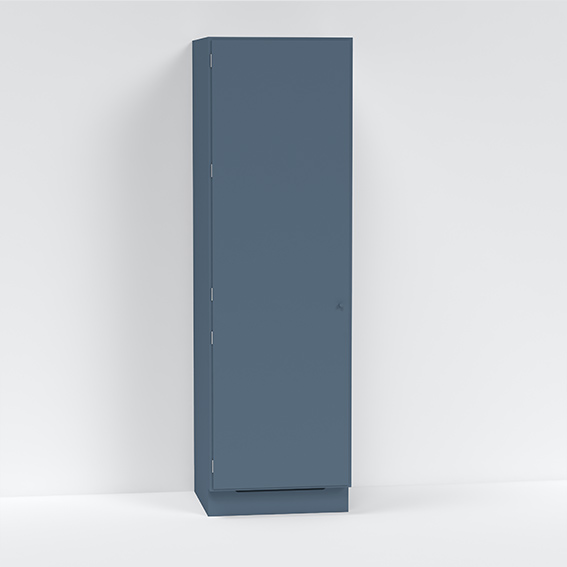
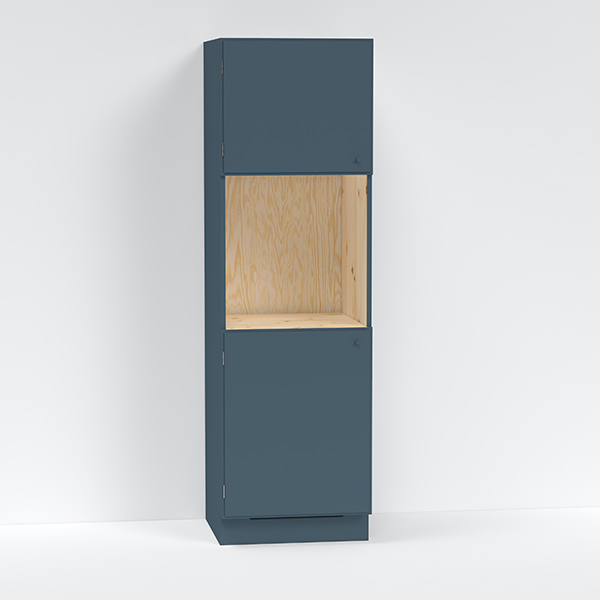
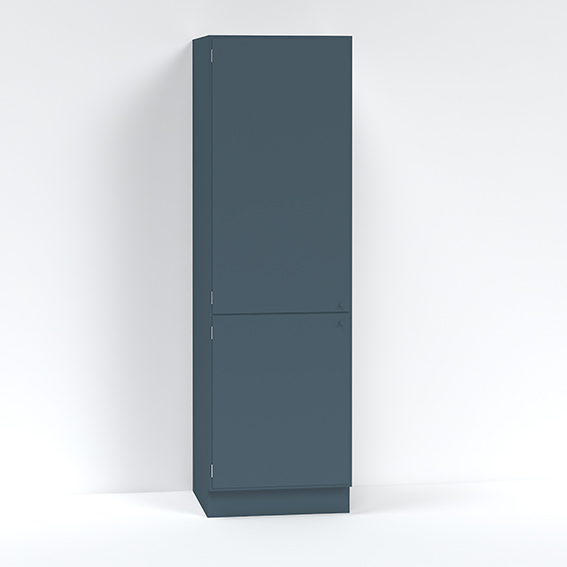
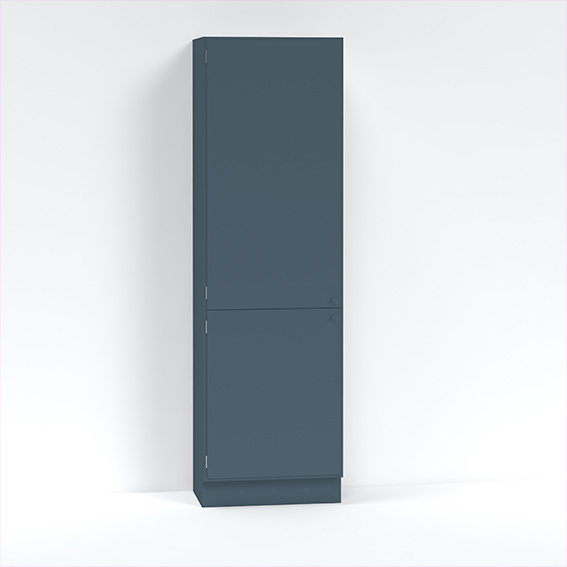
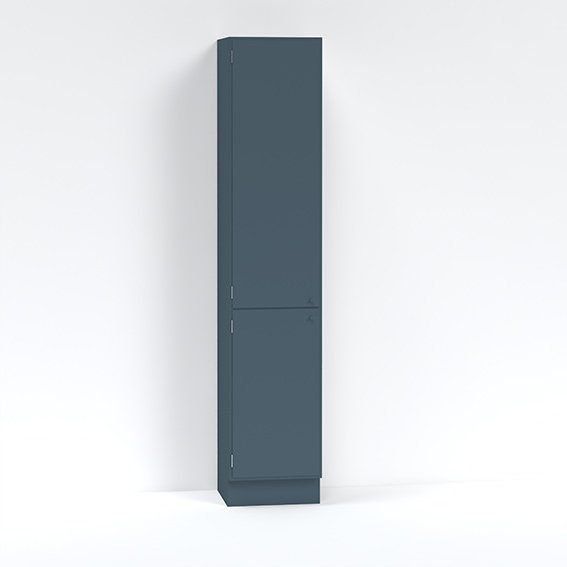
7. Tall Cabinets:
At the top of the tall cabinets section you'll find two draggable items, "Filler" and
"Trim". You can use fillers for example, if you want your kitchen flush against a wall. This
would require a filler that is at least 2-5 cm wide placed between the wall and wall
adjacent cabinet. To make it easier place the filler first. The filler items can be resized
horisontally (width).
"Trim" items can be used if you want your kitchen to be flush with the ceiling. It's easiest to place trim items last, after all cabinets have been placed, so you know how much of an area you need to cover. Trim items can be resized in all directions.
Orientation of the handles/knobs, left of right, can be toggled on certain cabinets using the corresponding icons, "L" and "R". Base cabinets can be dragged/repositioned horisontally.
COLOUR TAB
8. When you feel like you're done with your kitchen, proceed to the "COLOUR" tab. While you have the coulour tab open you select any cabinet sides that you think will need painting. This is done by clicking on the corresponding cabinet side.
Please note that the under side of wall cabinets need to be painted and also their top side if they don't reach up to the ceiling.
When you're done with the color tab, proceed to the "PRICE" tab. Follow the instructions to either save your sketch or send to us for a price quote. Good luck!
Du börjar med att rita din vägg/väggar. Skriv in dina mått till höger på skärmen.